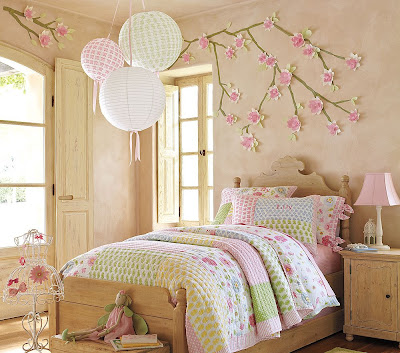
In April, when I was still in Georgia, a friend asked me if I could do something to her daughter's walls. She gathered a few of her favorite ideas, which happened to all be from the Pottery Barn Kids catalog. Normally I try to do my own thing/idea but she really liked the one above, and I figured why not just do it for her? I don't always have to be original and it was pretty and really perfect for the room. Just thought I would share my version and how I did it!
(sorry for the crappy photo quality, I only had my point and shoot camera when I took these! )
Materials:
pink cardstock
darker pink tissue paper
brown wall paint
green cardstock/scrapbook paper
hot glue
3m removable wall tabs
1. draw out (with pencil) the basic tree shape
2. paint the trunk/branches with the brown wall paint (I only needed 1-2 layers)
3. cut out 3 different-sized flowers out of the cardstock and tissue paper
4. bend the cardstock flowers by holding in the middle and lightly scrunching so they have some 3 dimensionality
5. hot glue the tissue paper flowers to the cardstock flowers.
6. cut out a bunch of leaves and hot glue them in pairs.
7. cut the 3m tabs into much smaller squares and adhere them to the flowers and leaves.
8. attach them to the wall! done!


5 comments:
Pretty. I like how it is 3d. I might have to modify Alina's 2d tree in her room!
It's gorgeous Katie!!
that looks amazing katie! the colors look so vibrant and pretty in that little nursery. you're amazing!
omg, it's really cute! thanks so much for sharing this. now I'm thinking to re-decorate my room, like this :]
Is that Evelyn's room?
Post a Comment