Tuesday, November 27, 2012

The Freckled Purl: the only accessory you'll need this winter! (plus a GIVEAWAY!!)!!!)


Heather of the Freckled Purl is a friend of mine, and when I discovered her talent for making adorable crocheted collars, I commissioned 7 for myself and family members. If you are friends with me on Instagram (I'm still private so you have to request) you know how obsessed I am with them! And if you follow my blog, then you know how much I love a collar to make a solid shirt or dress have a little more character.

Well, I am here to tell you some good news. We are giving away one of her collars this week!! You can win one to give as a gift or keep for yourself this holiday season.
I actually own 4 of the collars you see pictured above:)  If you go to The Freckled Purl you won't see all the colors pictured, but you can have any size (adult or child) or style (scalloped or peter pan) done in any of the colors she has shown here (yarn color options also indicated in the listings) 


You can use coupon code FREESHIP2012 at checkout to get free shipping right now, just because you read my blog!
And look how cute they are on little girls! ahh!

Here are the ways you can get a chance to win one of these cute collars.  Remember, each needs to be left in a separate comment!

1. leave a comment about what you think of her collars/ and or a link to your favorite one
2. like The Freckled Purl on Facebook (then leave a comment saying so here)
3. Post about this giveaway on your Facebook/ twitter/ and/or instagram! (and give me the link)

Good luck to all! The giveaway ends on Friday, November 30 at 11:59pm PST.


Monday, November 26, 2012

CYBER MONDAY/ HOLIDAY SALE!!!


Hey everyone! Just wanted to let you know that today, and for the next 3 week, EVERYTHING in my shop will be 40% off!!!! That's right EVERYTHING. Use coupon code BEFHOLIDAYSALE at checkout. 

Wednesday, November 21, 2012

The 3rd Thanksgiving bunting...

Luckily I got the 3rd bunting up a week before Thanksgiving.... and luckily I can use it again next year so it wasn't a waste of work! I had this thing ready to go since November 3rd, it just needed my mom's special hole punch for stringing. Oops.  Here is the how-to. Just in case you want to make one for next year... or for a Hunger Games party? Or perhaps just because you love golden arrows.

Materials:
Gold Poster board
black or white poster board
string/ribbon (I used some holiday gold)

1.I cut 3 long strips from my poster board. One was 2.5" wide, one was 3.5" wide and one was 4.25" wide.

2.I then free-handed the arrows with my exacto knife. (I didn't cut the little "feathery" slits until after I had cut out the main arrow shape.)

3.I paired up my arrows and cut a circle big enough for the center of each pair out of the black posterboard.

4. You can do 2 hole punches (I used my mom's punch that creates smaller, rectangular slits), and then string the ribbon through them so they hang flat. Make sure you do the punches at the TOP of the circle!

Hang your festive bunting for all to see.

Friday, November 16, 2012

The Indecisive Shirt

Have you ever made a shirt embellishment that A. you weren't sure would hold up well in the wash or B. weren't sure if you could solely commit to? I have, over and over. So when I received my snap-tape, which is so awesomely available in separate pieces (meaning you can buy JUST the "male" side or JUST the "female" side--depending on which you need more of), I knew exactly what I wanted to do with them! Indecisiveness problem solved!
1. I first sewed a strand of FEMALE sided snap-tape to the shirt, top-stitching down each side (and I folded it over the top of the collar and the bottom hem of the shirt, so that there is one snap inside on both ends)

2. I made 4 (okay, no really, I made like 15 because its SOOOO quick and easy) pom-poms using my "My Own Fringemaker" (which is my new favorite quick-crafting machine!!) and hot-glued 1 MALE sided snap-tape button (I cut one square of snap-tape) onto the back of each pom-pom. (One pom-pom is large and the others are medium.)

3. I snapped those suckers on that shirt. Easy Peasy! And I can take them off when I wash the shirt. And maybe its just me, but I also like the look of just the snap-tape just down the middle of the shirt....perhaps its from watching so much Project Runway over the past years (they always use utilitarian materials in innovate ways).

SECOND OPTION:
And then I had another idea...

(1. and 2.) I used my "My Own Fringemaker" to make a bunch of the long, loopy hot-pink strands you see above. Its easy, since this machine allows you to do 2 at a time. I simply wrapped the yarn around the 2 poles, tied off, and then transported my wrapped poles to my sewing machine, where I sewed down the center.

3.I  got a strand of MALE-sided snap-tape, my loopy pink strand, and some pre-made pom-pom strand .
4. I sewed the snap-tape down on both sides to JUST the loopy strand.
5. I hot-glued the pom-pom strand to the loopy stuff (which I could do, simply because this strip will be taken off before I wash the shirt!).

And then I snapped the strip to the shirt. Love. And yesterday my daughter Olivia wore this version of the shirt for our first professional family photoshoot. I am so in love with this idea of multiple decorations for one shirt!

Thursday, November 8, 2012

pom-poms and mis-matched shapes!

I am on a ROLL! How many posts have I done this week? THREE!! And this is the FOURTH! woohoo! Hopefully people are still reading my blog, and not coming here solely from pinterest... Though I am greatful to all those who have pinned my blog and keep people reading it! One day I will decide to make more money off this thing using those stats. Speaking of, any of you want an ad on my blog? I'm thinking $10/month same size as those on the right. I get usually 11,000 hits/month!

Email me if you are interested. Now's the time, its the holidays!

Okay, on to today's little inspiration station.
Pom-poms and such.

 The jumper. It was a hand-me down of course, and so I was excited to re-vamp it. I bought some strung pom-poms at Jo Ann's and just pinned and sewed them straight to the hem of the jumper. Done.
The leggings I spotted on Pinterest and knew immediately that I had to make some knock-offs! She has worn them for three days now bc I think they look cute with everything.

The top, which you can't really see, is just a plain shirt that I sewed a cut-in-half doily onto the shoulders of.

The shoes, again can be found here (tutorial).

And there you have it. Living vicariously through my children with their wardrobe. While they still let me!

Tuesday, November 6, 2012

Thanksgiving chalk lettering

I tried my hand at some chalkboard lettering yesterday. Not the coolest quote, and I will most likely erase and change this whole thing soon (I have better font ideas now), but I thought I should post on this blog more often, so I am slapping this photo up here for you all to see. 

Monday, November 5, 2012

make me feel so cool:)

I forgot to mention last month that I had a cool feature from Rachel of Handmade Charlotte who writes for the Coats and Clark blog!!!! She did a post about my stuff here:


Thanksgiving decorations to hold you over....

 My daughter was really upset when I took down the Halloween decorations this year. And I felt a little tug to put up Christmas decorations, but knew that November 1st was a bit too early... So I decided this year I would make some Thanksgiving bunting!

Now, I made THREE different buntings, but the third one has yet to be hung because I have yet to punch the holes in it to be strung. 

1.I made the circular accordions out of book pages for my wedding 6.5 years ago. My mom saved them, and here they are finally being put to use again! I mounted them on black posterboard and scalloped the edges. Then I cut out cursive letters to spell "give thanks." I couldn't think of anything better (I'm not so clever with words).

2.The wooden bunting was inspired (copied) from this and though I never read the tutorial, I had a visual in my head when I was at the craft store. I have no idea where you would get the veneer cards they are referring to, but I just bought thin balsa wood (not the thinnest, the next one up) and cut it with an exacto knife. I thought about dipping them in gold, or adding something to them, but then I realized that's what I always do, and maybe a little simplicity would be better for now:)
The pink/cream decoration on the side is a tutorial I have coming soon (as well as the 3rd bunting!). and lastly, I spray-painted this giant toy rhino gold, because he hangs out on the shelving that divides the living room from the "play room," and I thought it looked more sophisticated! Also I plan on strapping some presents on his back for Christmas.

Thursday, November 1, 2012

Halloween, we'll miss you!


Because she wanted to be both Sleeping Beauty AND a Butterfly.... I introduce Sleeping Beauterfly, who couldn't have been happier in her outfit all day (this was right before her preschool parade).

 I know being a butterfly isn't super original but Olivia is 3 now and turns out she is very opinionated about what she does and does not want to dress up as. Pink anything would've worked for her (as determined by her browsing through the Party City ad sent to our house), but Sleeping Beauty was her top choice (which I had luckily already made for her pink princess birthday). When I showed her some butterfly costumes she said she also wanted to be a pink butterfly! So I decided all three of us girls could do the butterfly thing this year and be a super girly bunch since this is our last year as all girls (and a daddy).  Franc was the "butterfly catcher" (thanks to a friend who suggested it to me when I was trying to figure out how to incorporate him)!


 Olivia also picked out this bright pink wig, but then refused to wear it for anything but photos. yay! This was her version of the costume for our trunk or treat and for her ballet class. That day she told me she wanted to be Minnie Mouse, because her friend was going as that. Uh. what? We don't have that costume, but luckily I was able to convince her that this LaLaLoopsy dress (which we already had) was just like Minnie Mouse because of the polka dots...

 And my other cutie butterfly:) It was fun watching her figure out the whole trick-or-treating thing this year. She ate more candy than made it into her purse.

FYI : I used the Martha Stewart tutorial linked above to make the wings, but just made my own cut-outs/shapes/patterns for the inside of the wings. Amélie's wings were pre-made hand-me-downs from the Gap:)

Hope you all had a HappY HAllowEEn!!! To see our past costumes look at these links:
Quetzalcoatl 
Olivia the Pig


Thursday, October 25, 2012

The Frances Collar Tutorial!

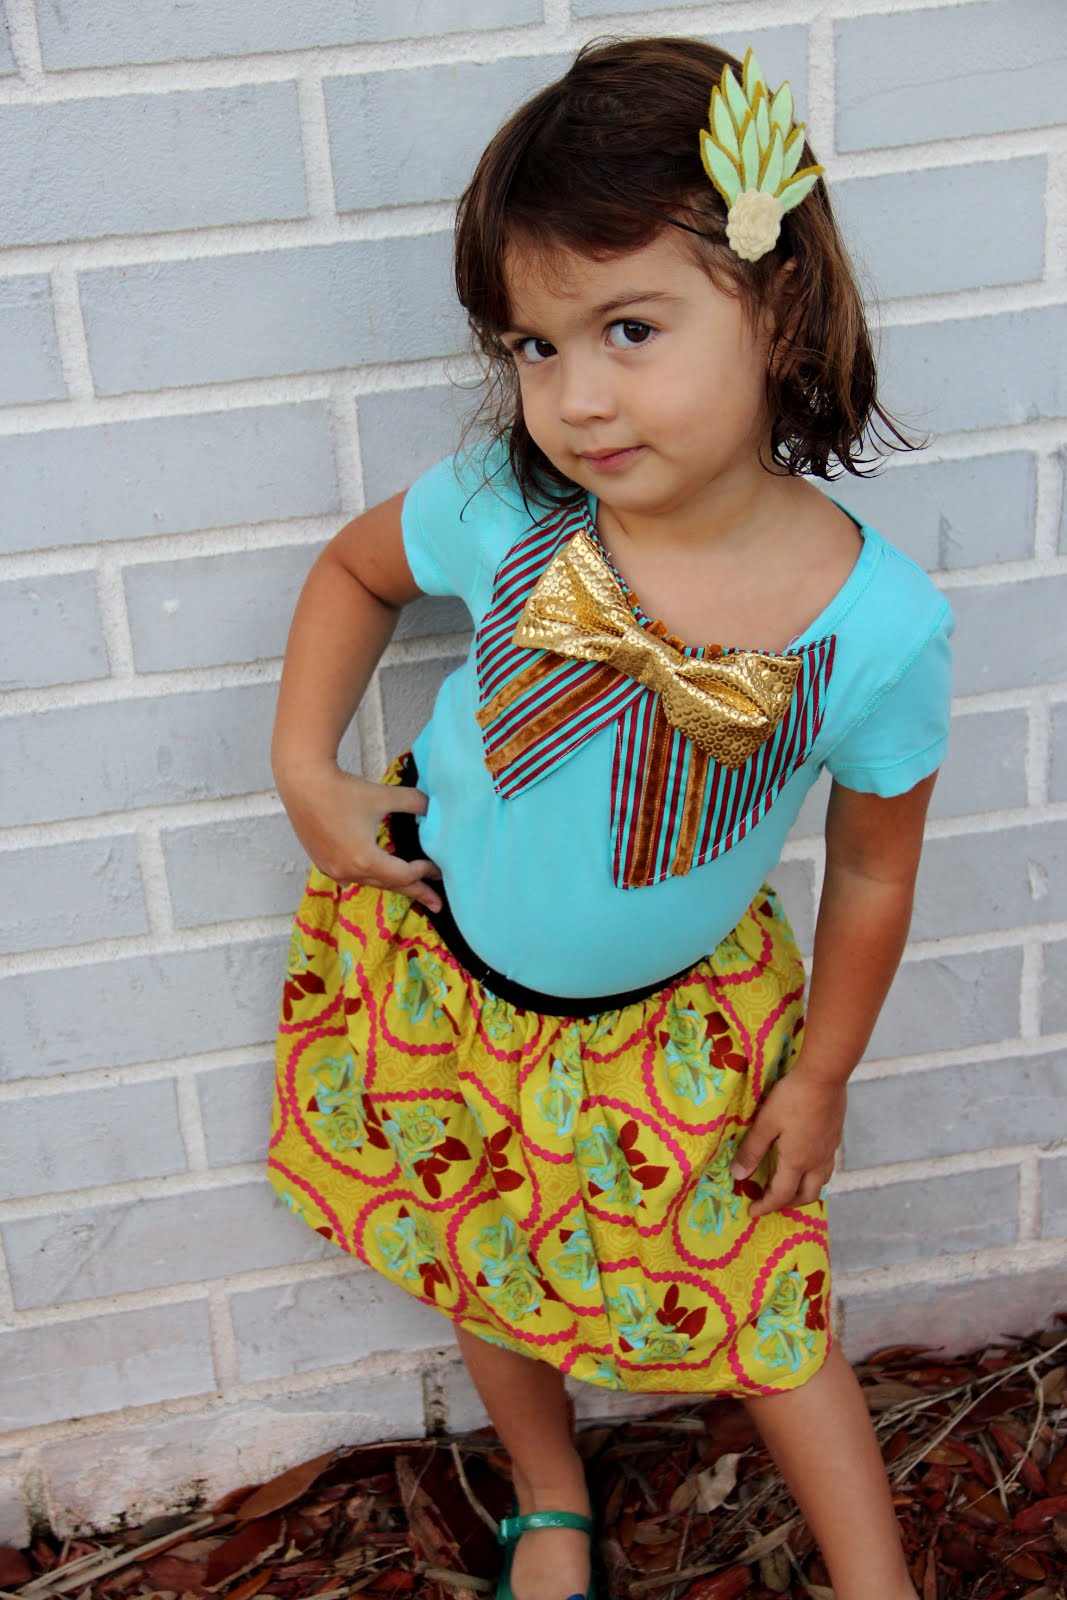
(Olivia insisted on wearing that clip even though I know its a little much with the shirt....)
My little cutie-pies have a lot of plain shirts that need to be snazzed up, so I came up with this faux-collar recently. You can check out the full tutorial (and pattern) for this "collar" over at Leafy Tree Top Spot for her TOP-TOBERFEST (there are lots more great top-re-do's over there!) Go check it out!

(P.S. Amélie's shoes were made using this tutorial)